


There are a lot of different ways we could start a guide like this, but we’ve decided that we want to keep it all as simple as possible.
And a simple guide calls for a simple introduction.
So, here’s our beginner’s guide to how to fix cracks in drywall.
It’s not exhaustive, but it ought to be enough for most small cracks.
You should be fine as long as you’re not dealing with anything deep.
If you are, though, don’t hesitate to call us for further guidance.
We’re here to help, and this is literally what we do.
We may not know a lot about fractional reserve banking or oyster farming, but we know drywall.
PS: We covered this subject a few months ago, but we thought it would be good to revisit it and give a little more detail this time.
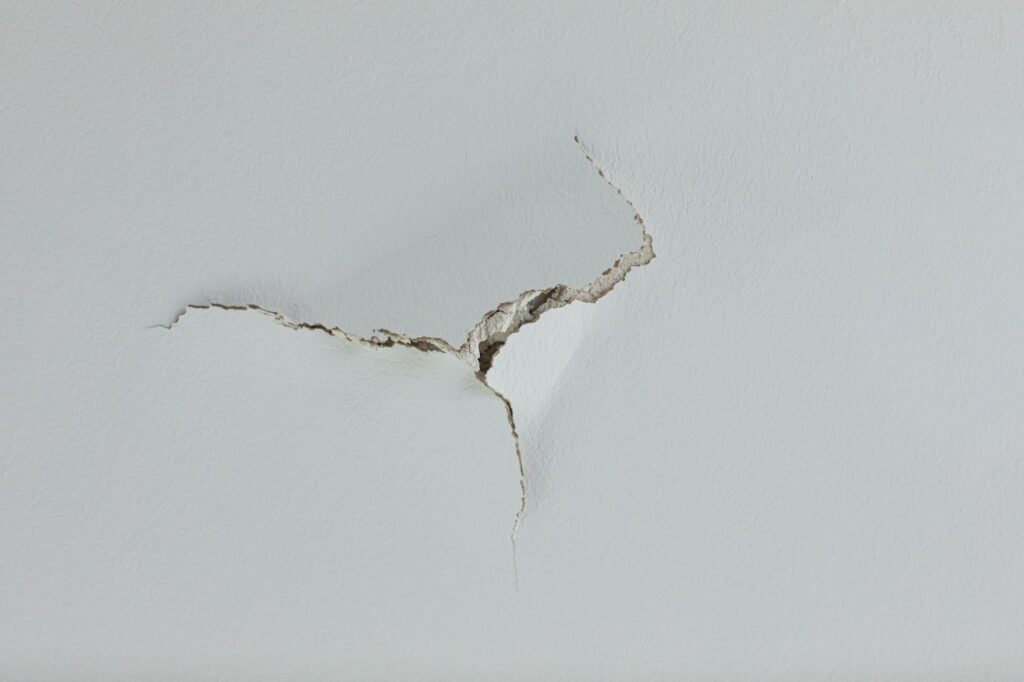
Step 1: Figure Out What Kind of Crack You’ve Got
The very first step in learning how to fix cracks in drywall is obviously going to be learning how to tell the different types of cracks apart.
After all, it’s pretty hard to fix a problem you can’t accurately diagnose.
And as far as the cracks that you’ll likely be able to handle yourself go, there are a few main ones to know.
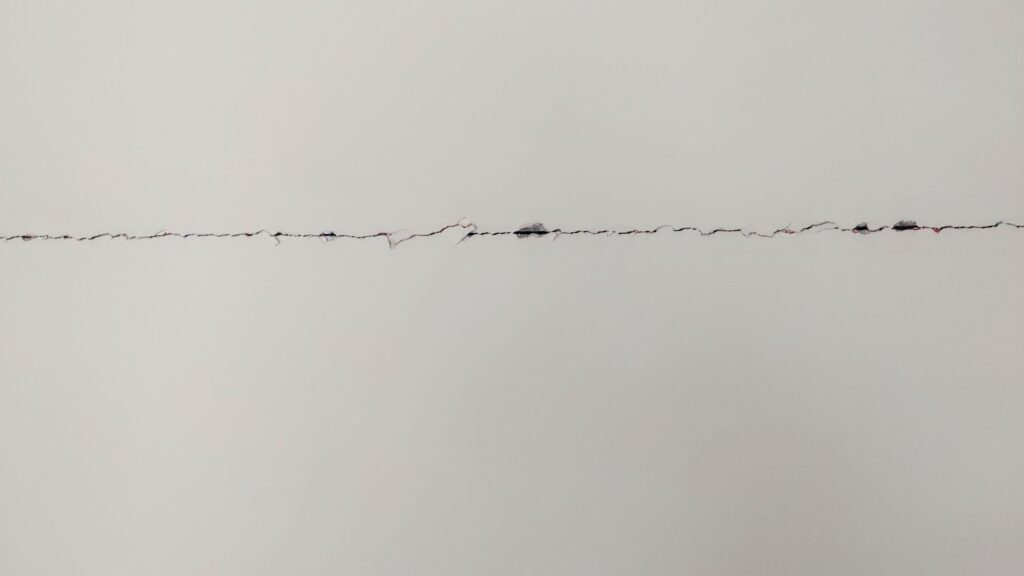
A. Hairline Cracks
As the name suggests, these are small cracks that don’t go deep and are usually caused by your house expanding and contracting during the changing seasons due to fluctuations in temperature and humidity.
Yeah, your house actually kind of breathes in a way.
Crazy, right?
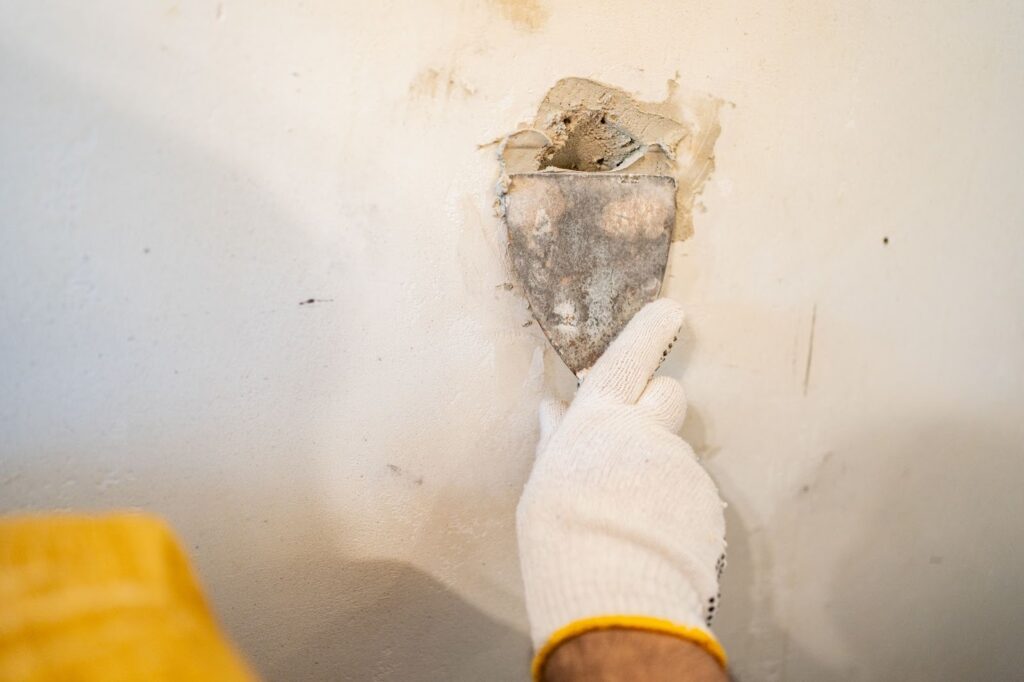
B. Larger Cracks
When we say “larger,” we mean slightly larger than a hairline crack, but still small enough to be manageable by yourself with the proper tools (more on that shortly).
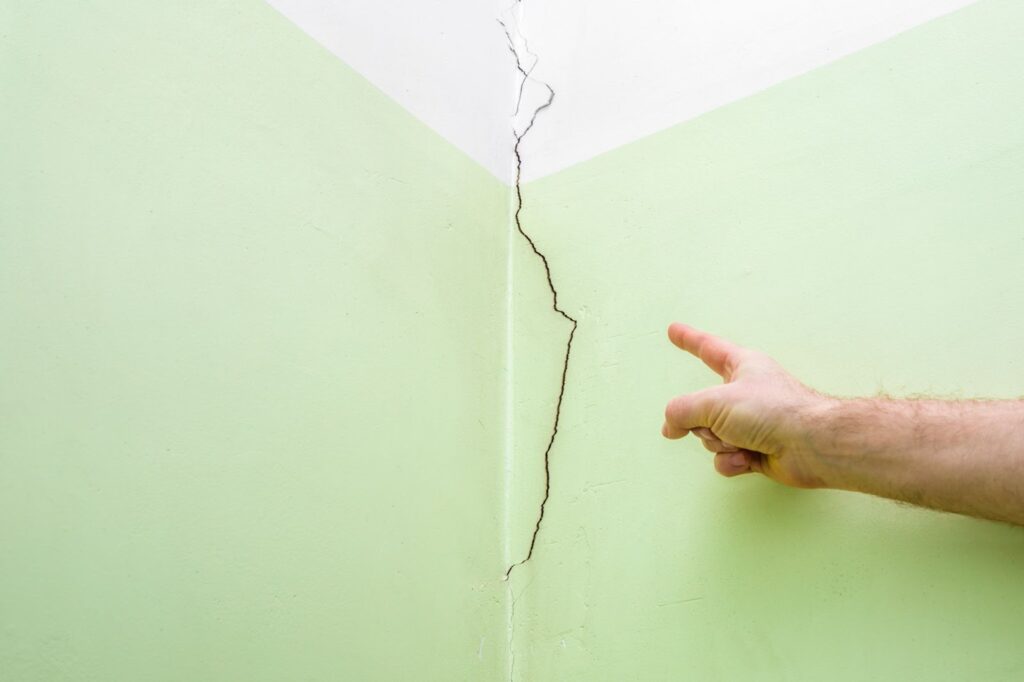
C. Corner Cracks
These are self-explanatory: they’re cracks that occur in the corners where two sections of drywall meet.
D. Separations
These go by a few different names, including “tape cracks,” but the basic concept is that a spot in your wall that was previously taped has since become untaped.

Step 2: Determine What You Need
This means accounting for everything that needs fixing and then writing down all the tools you’ll need to do the fixing.
Among the items you’ll most likely need are a dust mask (to protect your lungs), a drop cloth (to protect your floor), a utility knife, a sanding sponge, “mud,” and paper tape.
You’ll also need primer and wall paint (more on that in Step 4).
Oh, and by the way, don’t cheap out on your tools and materials because you’ll usually regret doing that.
Buy quality so that you only have to pay once, not twice (when you have to redo your mistakes).
Featured
The podcast you’ve been waiting for.
A podcast where we talk about financial literacy, that can help you take your investing to the next level.
Step 3: Do The Hard Part
Now comes the main event, the climax, the coup de grace.
This is the part of learning how to fix cracks in drywall that involves actually filling in the crack.
Because the only way to really learn is to just do it yourself.
And the way you do it varies a little depending on the type of crack you’re dealing with…
A. Hairline Cracks
- Use your utility knife to dig into the cracks a little to make them wider (make it worse).
- Dust off the crack so there’s no stuff left in there.
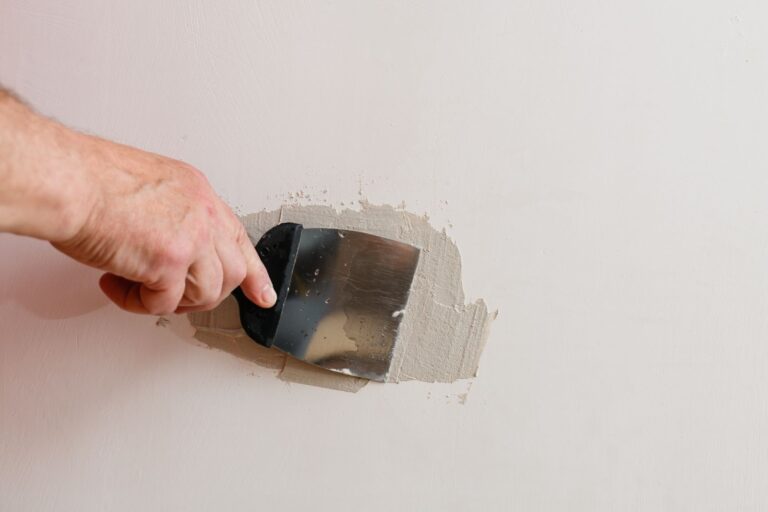
- Apply a thin coat of “mud.”
- Wait 12-24 hours for the mud to dry.
- Come back and sand it off with your sanding sponge.
- Apply another thin coat of mud, spreading it slightly beyond the edges of the crack.
- After it dries, sand it again.
- Proceed to Step 4 of this guide.
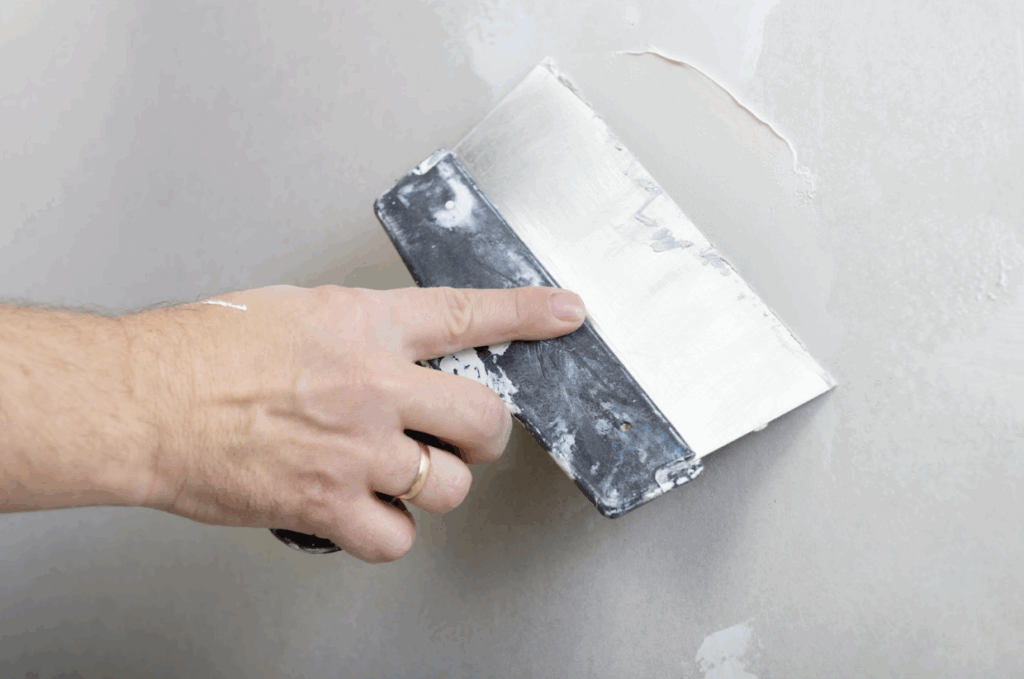
B. Larger Cracks (more than ⅛” wide)
- Use your knife to make it worse, as with a hairline crack (but not much worse).
- Apply a thin layer of mud.
- While the mud is still wet, press some of your paper tape into it and make it smooth.
- Apply another coat of mud, spreading it around 3 or 4 inches beyond the edges of the tape.
- Wait for it to dry.
- Come back and sand it down so it’s even with the rest of the wall.
- Apply the last coat of mud, spreading it about 8-12 inches beyond the crack’s edges.
- When it’s dry, sand it again.
- Proceed to Step 4 of this guide.
Pro Tip: While mesh tape might be easier for newbies, paper tape is stronger.
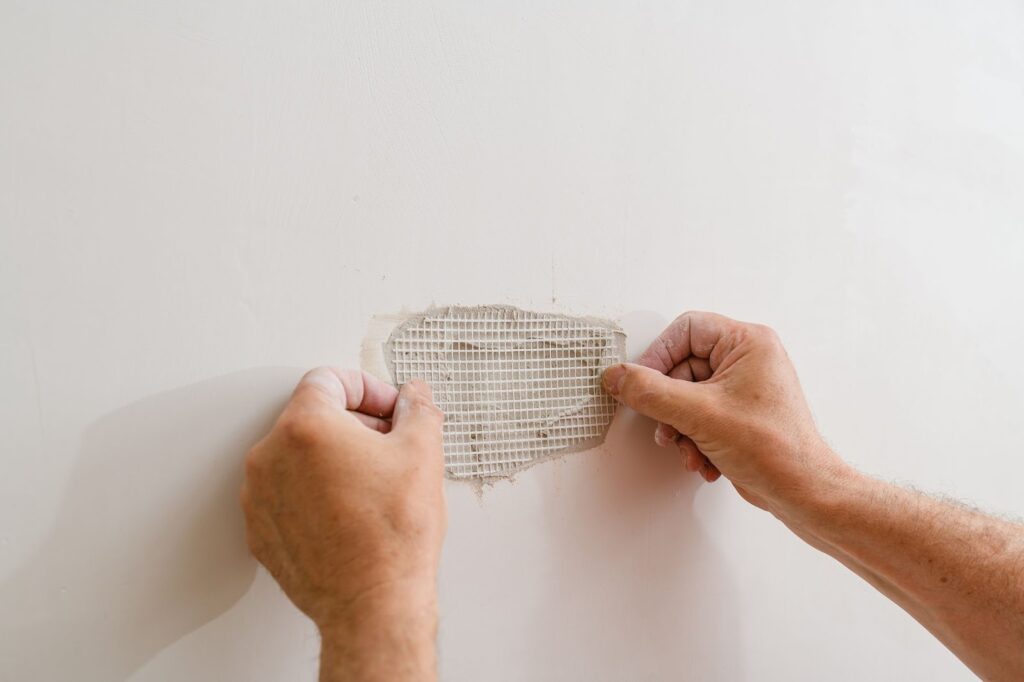
C. Corner Cracks
- Use your utility knife to scrape out any debris.
- Apply a coat of mud.
- While the mud is still wet, fold and apply paper tape.
- Add another coat of mud, spreading it out a few inches beyond the tape’s edges.
- Wait for it to dry.
- Come back and apply a third coat of mud.
- Wait for it to dry.
- Sand it down so it’s even with the rest of the wall.
- Proceed to Step 4 of this guide.
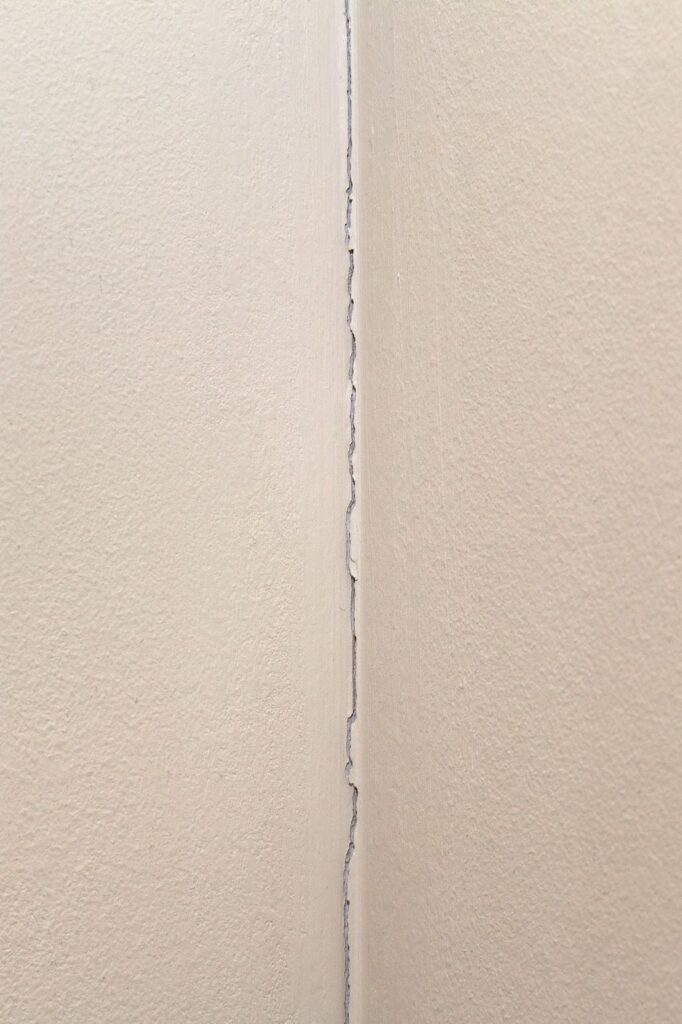
D. Ceiling Cracks
- Make it worse with your knife (only slightly).
- Dust all the debris out.
- Apply a thin coat of mud.
- While the mud is still wet, apply paper tape.
- Wait for it to dry.
- Come back and apply another coat of mud, spreading it out a few inches beyond the tape.
- Wait for it to dry.
- Apply a third coat of mud (the same as last time).
- Wait for it to dry.
- Sand it down until it’s even with the rest of the wall.
- Proceed to Step 4 of this guide.
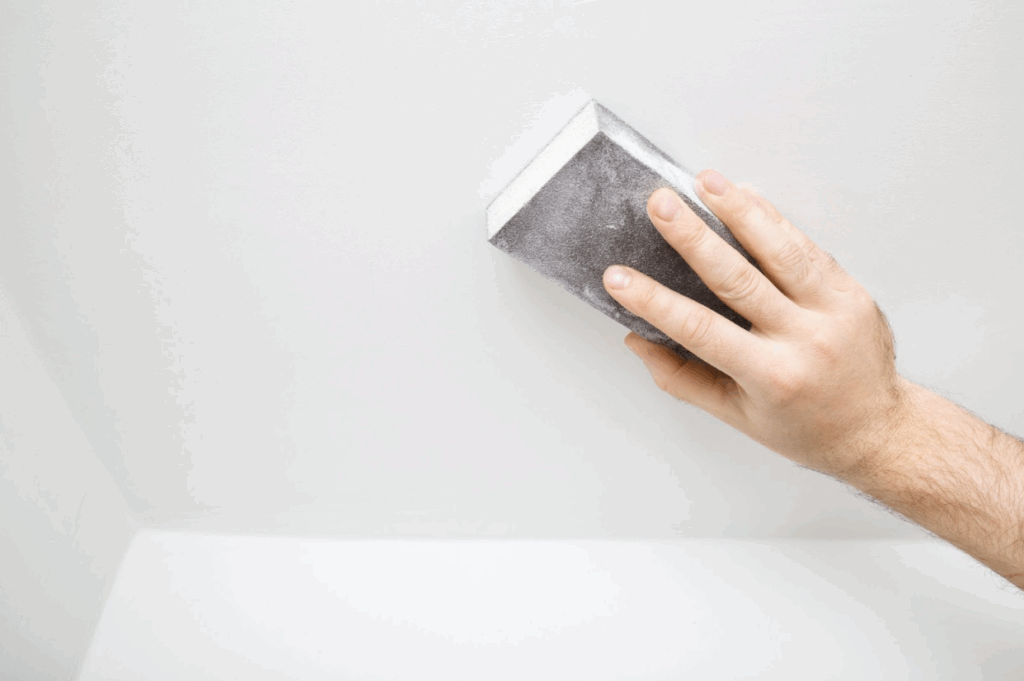
Step 4: Cover Your Tracks
You can’t learn how to fix cracks in drywall without making it look like there was no damage in the first place.
And mud is your best friend for that.
“Mud,” also called “joint compound,” can be painted on because it’s porous.
That means it absorbs stuff, such as paint.
However, it doesn’t do so in exactly the same way as the rest of your wall, so you’ll need to use the primer we told you to buy at the beginning of this guide.
That will help the pain stick.
If you don’t use primer, you’ll get weird patches.
Also, use two coats of paint to be safe, and remember to spread that paint beyond the borders of the mud patch so that everything looks even.
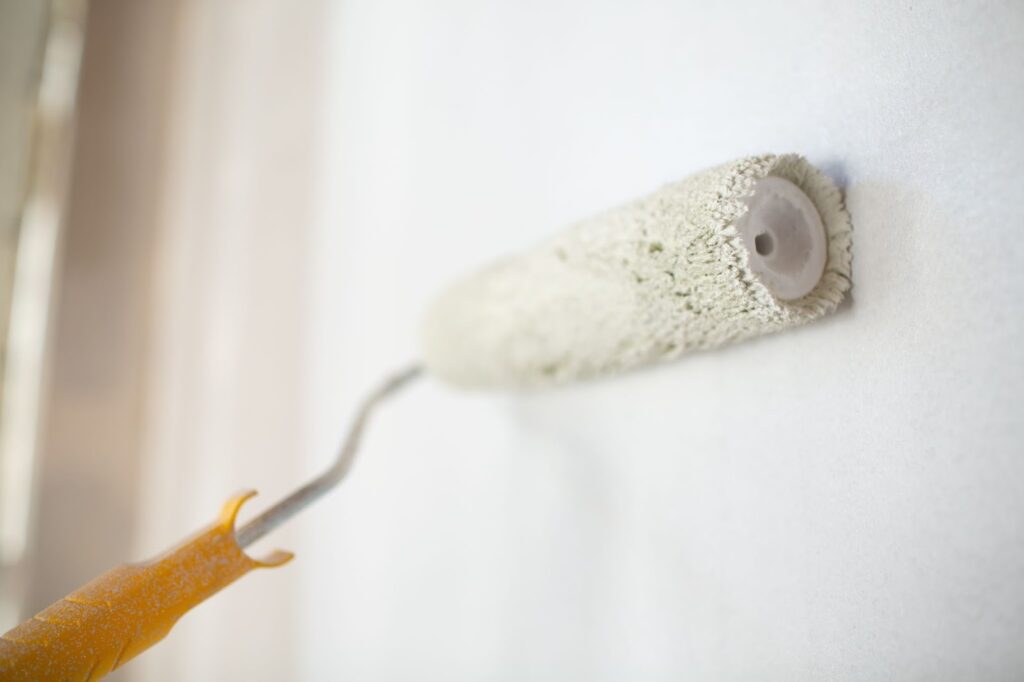
Pro Tip: We didn’t mention this in the supply list, but you might want to buy a paint roller for this.
Step 5: Ounce of Prevention > Pound of Cure
You won’t ever have to deal with a problem if the problem doesn’t exist in the first place.
So, take whatever measures you can, within reason, to stop new cracks from appearing.
These include doing things like:
- Again, don’t cheap out on your tools and materials, especially your tape.
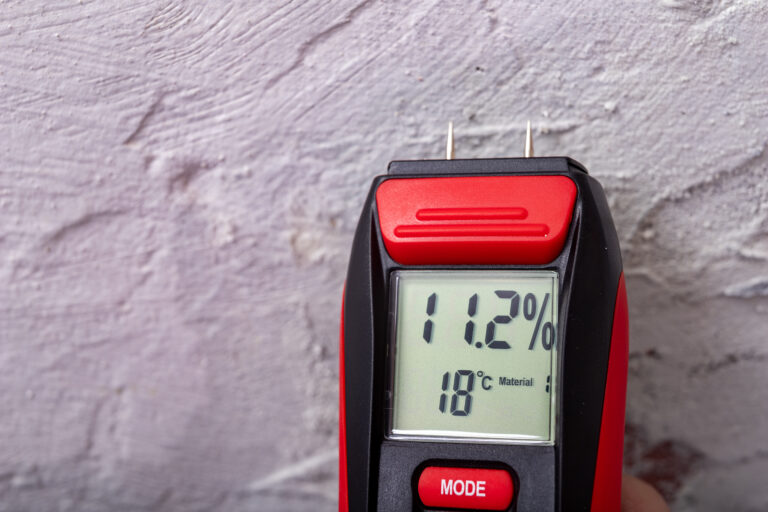
- Stabilize the humidity inside your house (40-60%).
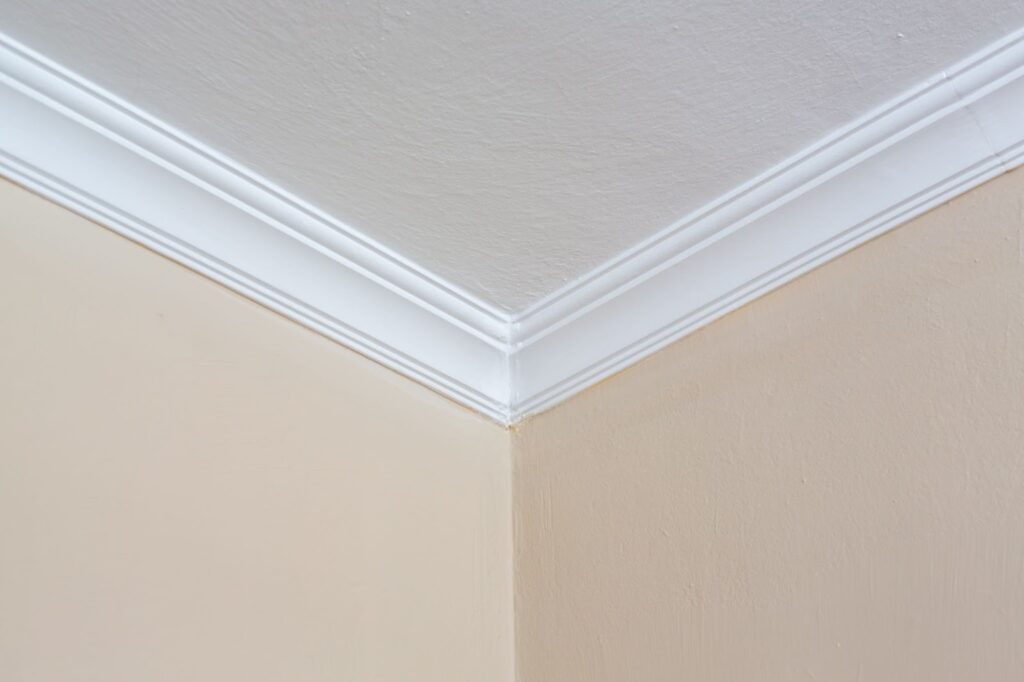
- In crack-prone corners, add corner molding.
- If you keep getting cracks in the same spots, investigate possible underlying framing or foundation problems and correct them if needed.
As If It Never Happened
That’s if you’ve done everything right, of course.
But if you’ve made a mistake somewhere in the process or still aren’t sure you understand how to fix cracks in drywall, that’s OK.
The beautiful thing about it is that you don’t actually need to know how to do any of this stuff if you don’t want to.
You’re not obligated to know everything about everything.
That’s why drywall professionals like us exist.
And if you happen to be located in the Redlands area of California, we’ve got you covered. 👍